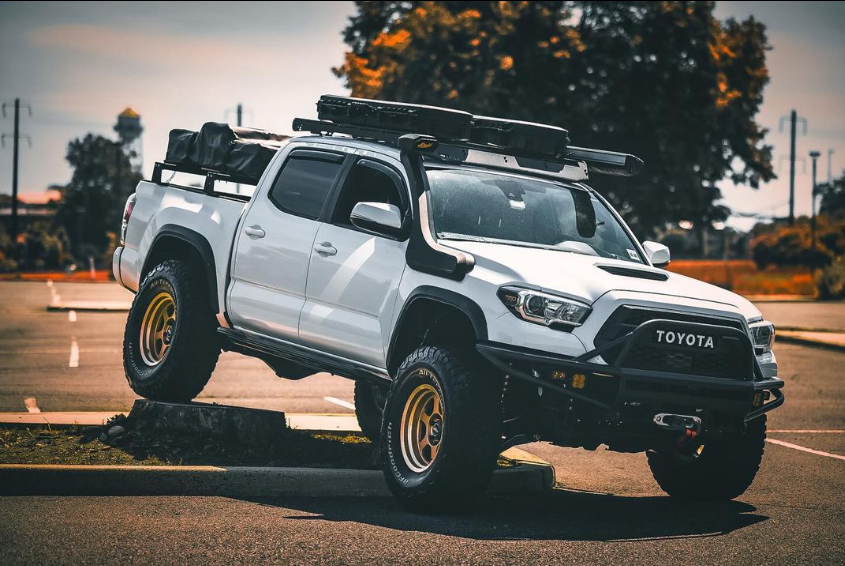
We welcomed Edwin and his family to Archive Garage for a full suspension overhaul on his Toyota Tacoma. Edwin already had our u-bolt flip kit installed, but decided it was time for the works.

We installed:
- Tacoma Hammer Hangers with 3.6" shackles and a Cross Tube
- Shock Relocation Kit with 14" King Shocks
- U-bolt flip kit with new standard density bump stops
- Medium Duty Archive Garage lift springs
All of these items are included in our Toyota Tacoma Ultimate Off-Road Suspension Package. We don't do installs on a regular basis, both because we're located on the East Coast and we're not a fully equipped shop, but occasionally the circumstances are right for us to do one. Here are some highlights along the way, as well as some tips and tricks from Eric, the owner of Archive Garage.
Preparing for Installation
Begin by setting up the truck in a safe and stable environment. Use proper jack stands to support the axle securely. Ensure one jack stand is positioned at the pinion and one on each side. Loosen brake cable brackets to allow flexibility during installation. Keep brake lines loose to accommodate movement. Don't forget that you may need to install longer brake lines, so have those at the ready.

Shock Towers
Install shock towers first. It's crucial to have the truck's bed in place to accurately set the height of the towers for optimal suspension performance. Have a shop vac handy when drilling to catch shavings and dust - wear gloves and don't breathe the fibers. We provide detailed install instructions with all of our products, use them!
Installing your Springs
Position the full military wrap of the spring forward to the front fixed hanger. This setup ensures stability and durability in challenging off-road conditions. Attach the shackle end, ensuring the burlin eye is correctly positioned at the back.
Fill the internal flutes in the poly bushings with grease to reduce friction and ensure smooth operation. Insert the DOM sleeve and apply grease to the outer surface of the bushing and the frame where the springs attach. Similarly, grease the inside of the shackles for enhanced flexibility and longevity.
Place the springs onto the axle perch, using the center bolt to hold them in position.

U-Bolt Flip Kit
Install the u-bolt flip kit, ensuring the center pin and nut do not exceed ½ inch in height to prevent interference. Secure the u-bolts from the bottom and refrain from tightening until the shackle is aligned with the hanger for proper suspension alignment. We provide 7.5" U-bolts when you buy the flip kit with our springs, to prevent any interference.

Hammer Hanger® Install
Install the hammer hanger after positioning the spring to ensure a secure fit. You have the option to use either stock shackles or Archive Garage shackles for added customization. Again our included instructions are very detailed to walk you through the install process. You can also check our YouTube for more details.

After you've put your shocks into your shock relocation kit, you're ready for...
Final Checks
Secure the u-bolts from the bottom and refrain from tightening until the shackle is aligned with the hanger for proper suspension alignment. Tighten all bolts to the specified torque settings: front bolt to 100 foot-pounds, u-bolts to 90-100 foot-pounds, hammer hanger bolts to 100 foot-pounds, and shackle bolts to 100 foot-pounds. Once all components are securely installed, re-tighten brake cable brackets to ensure everything is properly secured and aligned.

Want to follow along on Edwin's adventures with his new rig? Follow him on IG @rogueoneoverland