Regular price
$4.00 USD
Regular price
Sale price
$4.00 USD
Unit price
/
per
Couldn't load pickup availability
Share
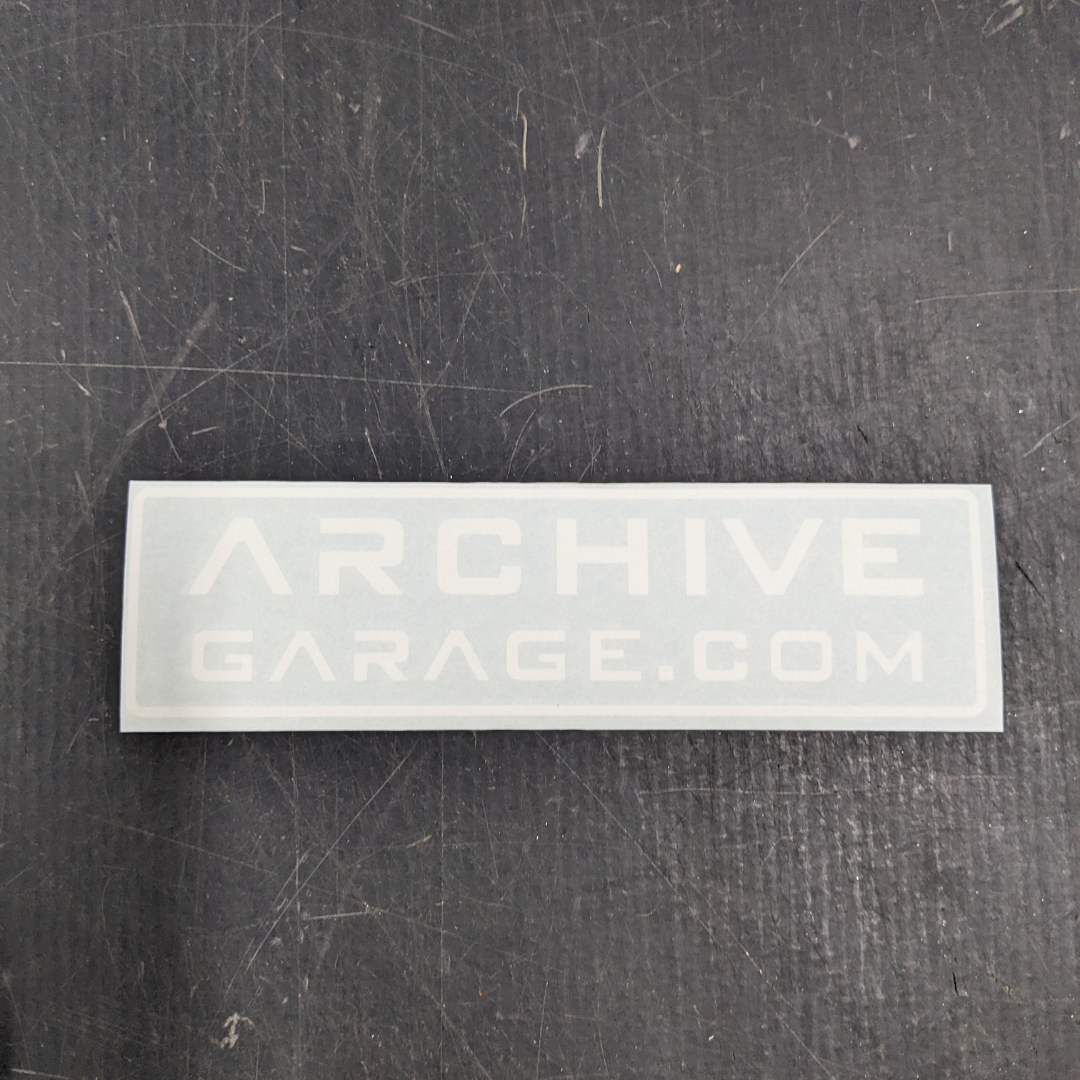
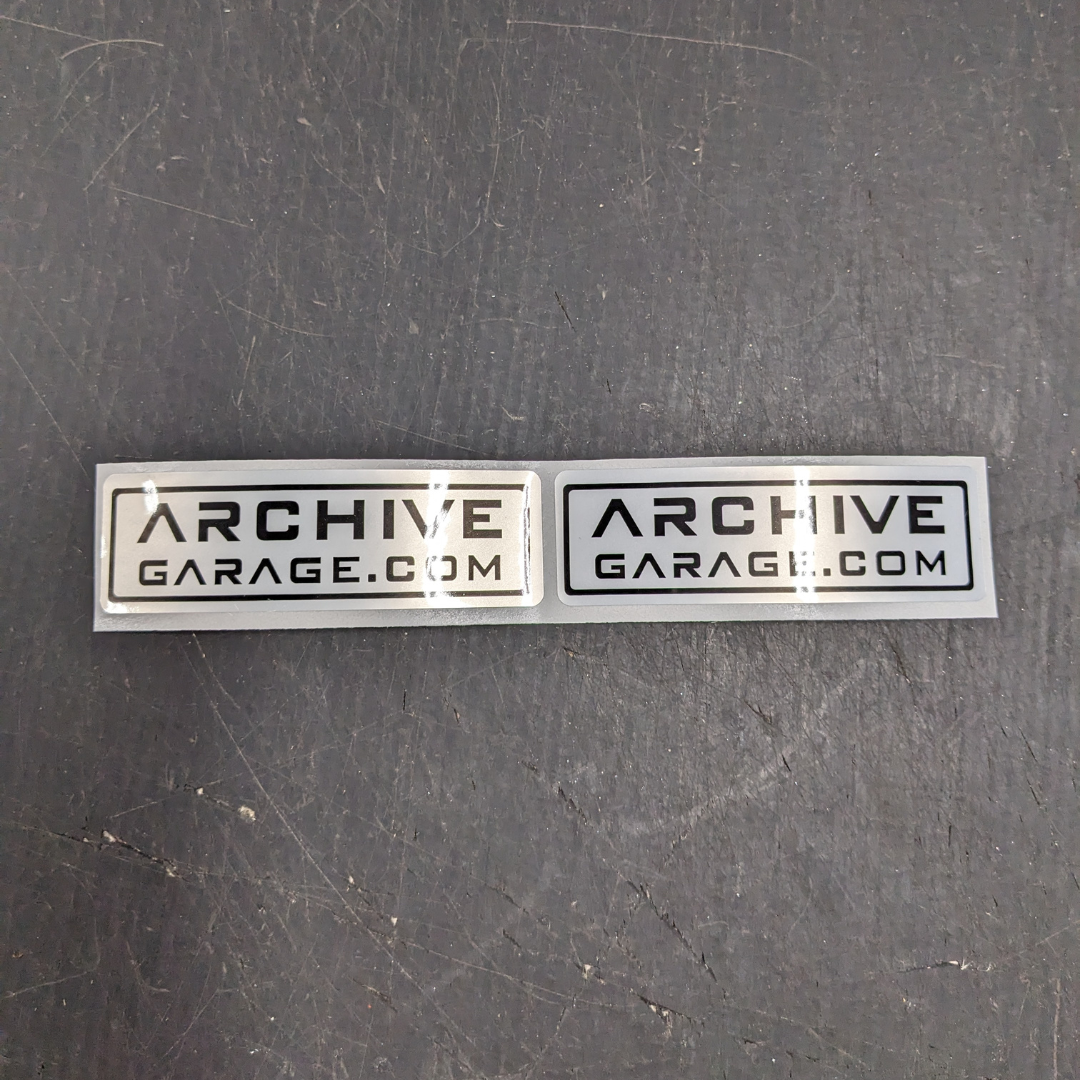
Choose either a white "ARCHIVEGARAGE.COM" vinyl bumper sticker or set of 2 black and silver "ARCHIVEGARAGE.COM" poly stickers
View full details